VPC Networks
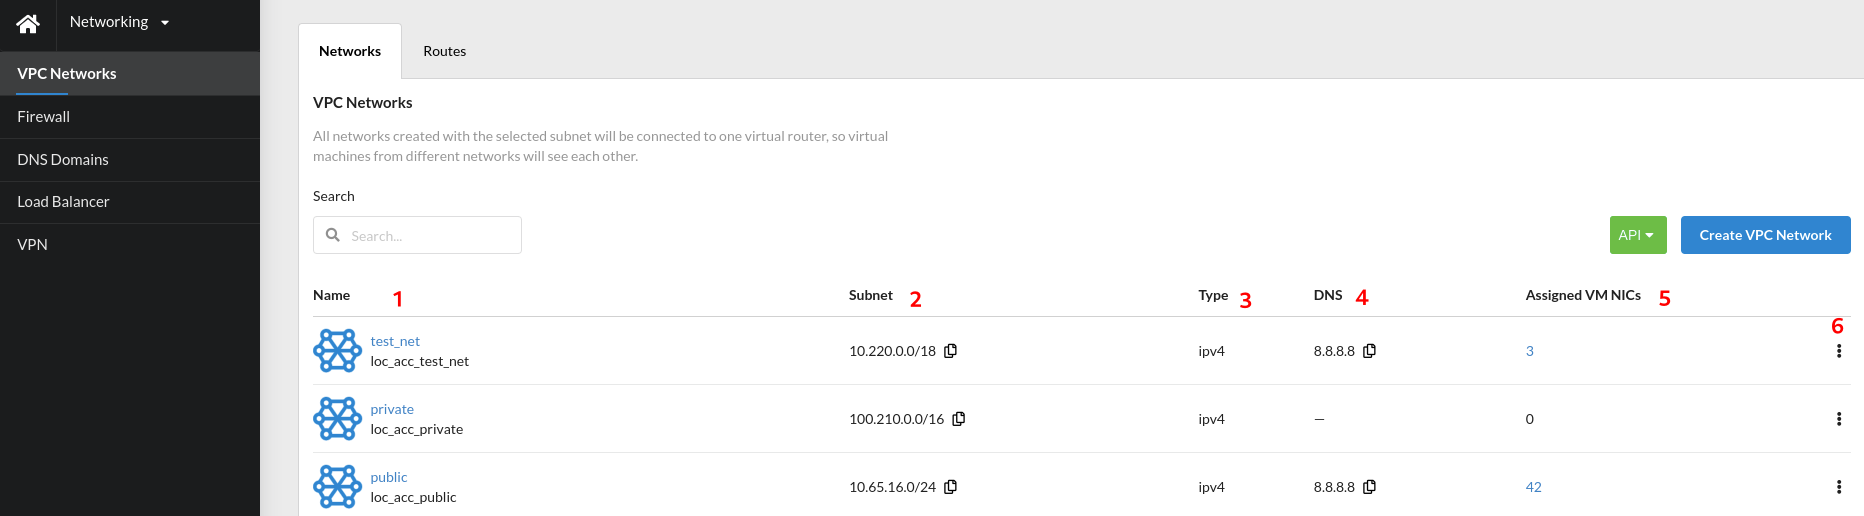
In the VPC Networks tab, the serviсe users can view the information about network connections of the account's projects on the selected location.
For each network in the general list, the following information is displayed in full or short form:
Name- unique network name;Subnet: IP address of the associated subnetwork (can be copied to the clipboard);IP Type- IPv4 or IPv6 (IPv6 is currently not supported);DNS- IP address of the DNS server (can be copied to the clipboard);Assigned VM NICs- number of assigned network interfaces;Settingsmenu (and NIC VM information).
Network creation and configuration
To add a new network, press the button Create VPC network.
In the dialog window, enter the name (up to 20 symbols, lowercase) and title (optional) of the new network,
then enable the checkbox to add a subnet (optional), specify the IP address of the DNS server, and click Save.

The network will be added to the list.
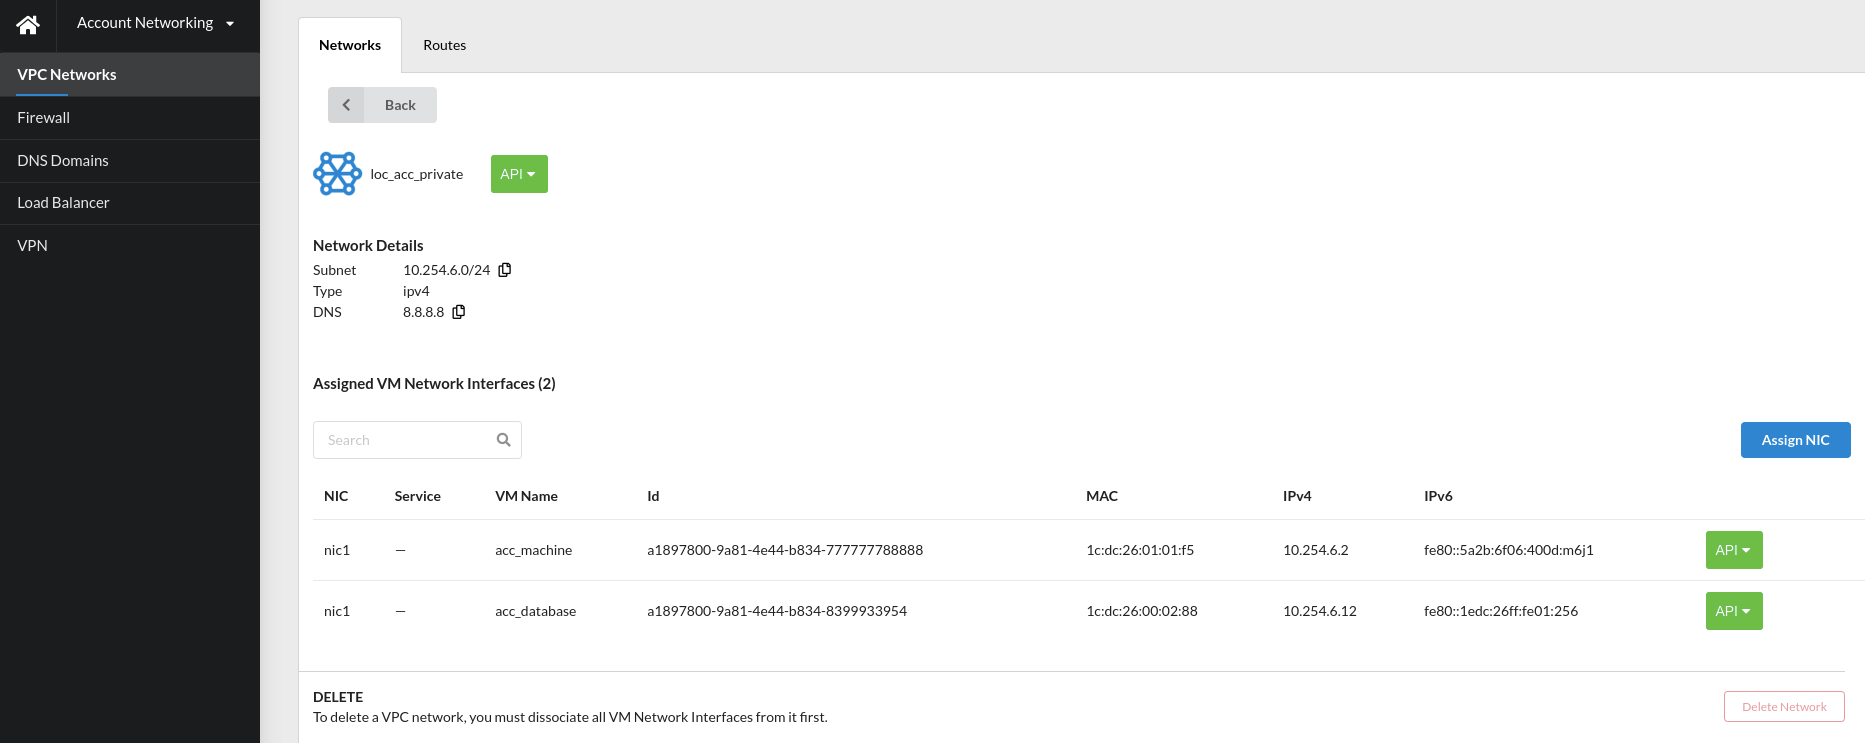
When clicking on a VPC network, the user has access to Network Details with information about the assigned VM network interfaces corresponding to this network.
NIC adding
To add new network interface to the selected VPC network, click Assign NIC.
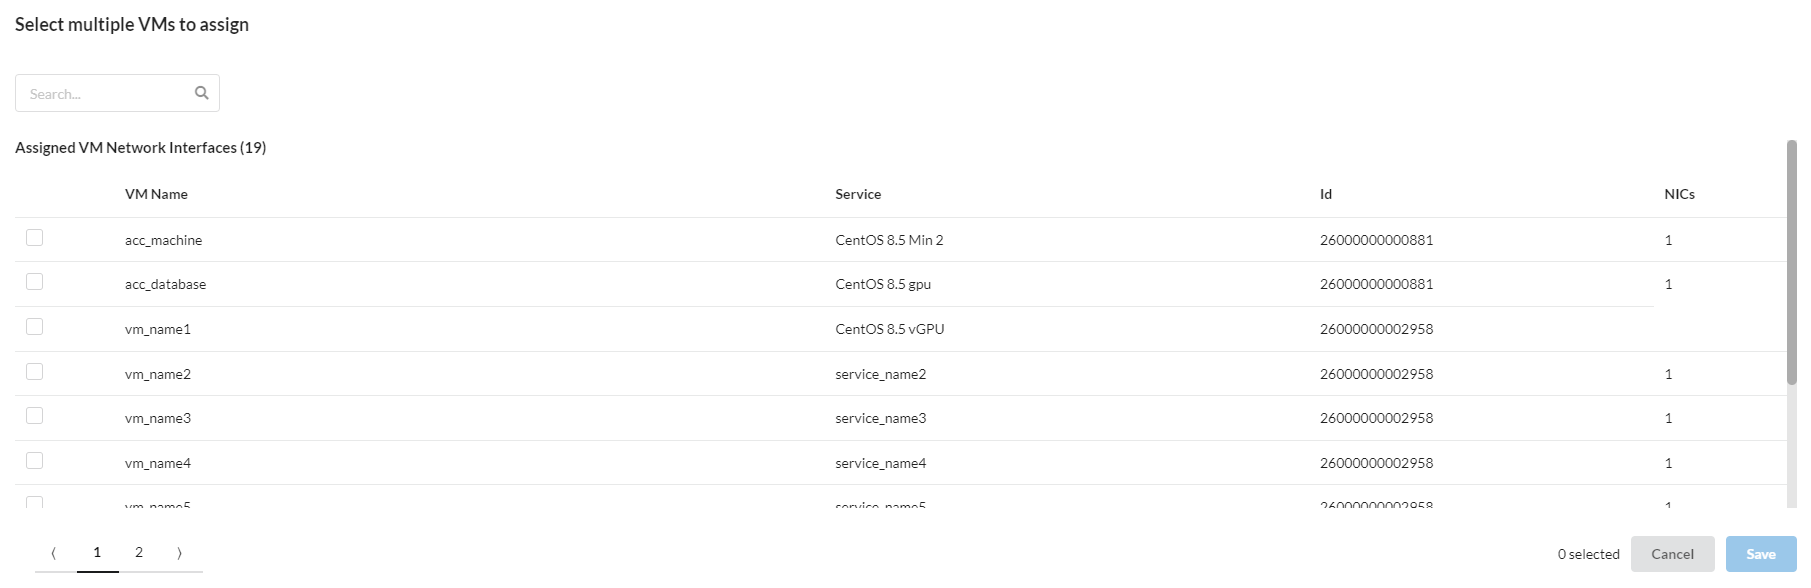
The user can select multiple VM interfaces and click Save or Cancel actions. The assigned interface will be displayed in VPC Network Details.
Note
Before deleting a VPC network, a user must dissociate all network interfaces of virtual machines from it by clicking on the `trash bin* icon in the network interface line (in the modal window).